Everyday Archviz - Attic In Milan using FStormRender

Everyday work is not just about extraordinary results. It is also made of non-extraordinary things, things that might end up nice, things that might end up normal, or that might end up horrible.
Everyday Archviz aims to become a series of tutorials about everyday work.
Everyday work is not just about extraordinary results.
It is also made of non-extraordinary things, things that might end up nice, things that might end up normal, or that might end up horrible.
Time, requests, computing power, willpower: unlike in our personal work, we have to deal with these aspects during everyday work.
This means that our goal is finding a sustainable workflow to get fair results in everyday work.
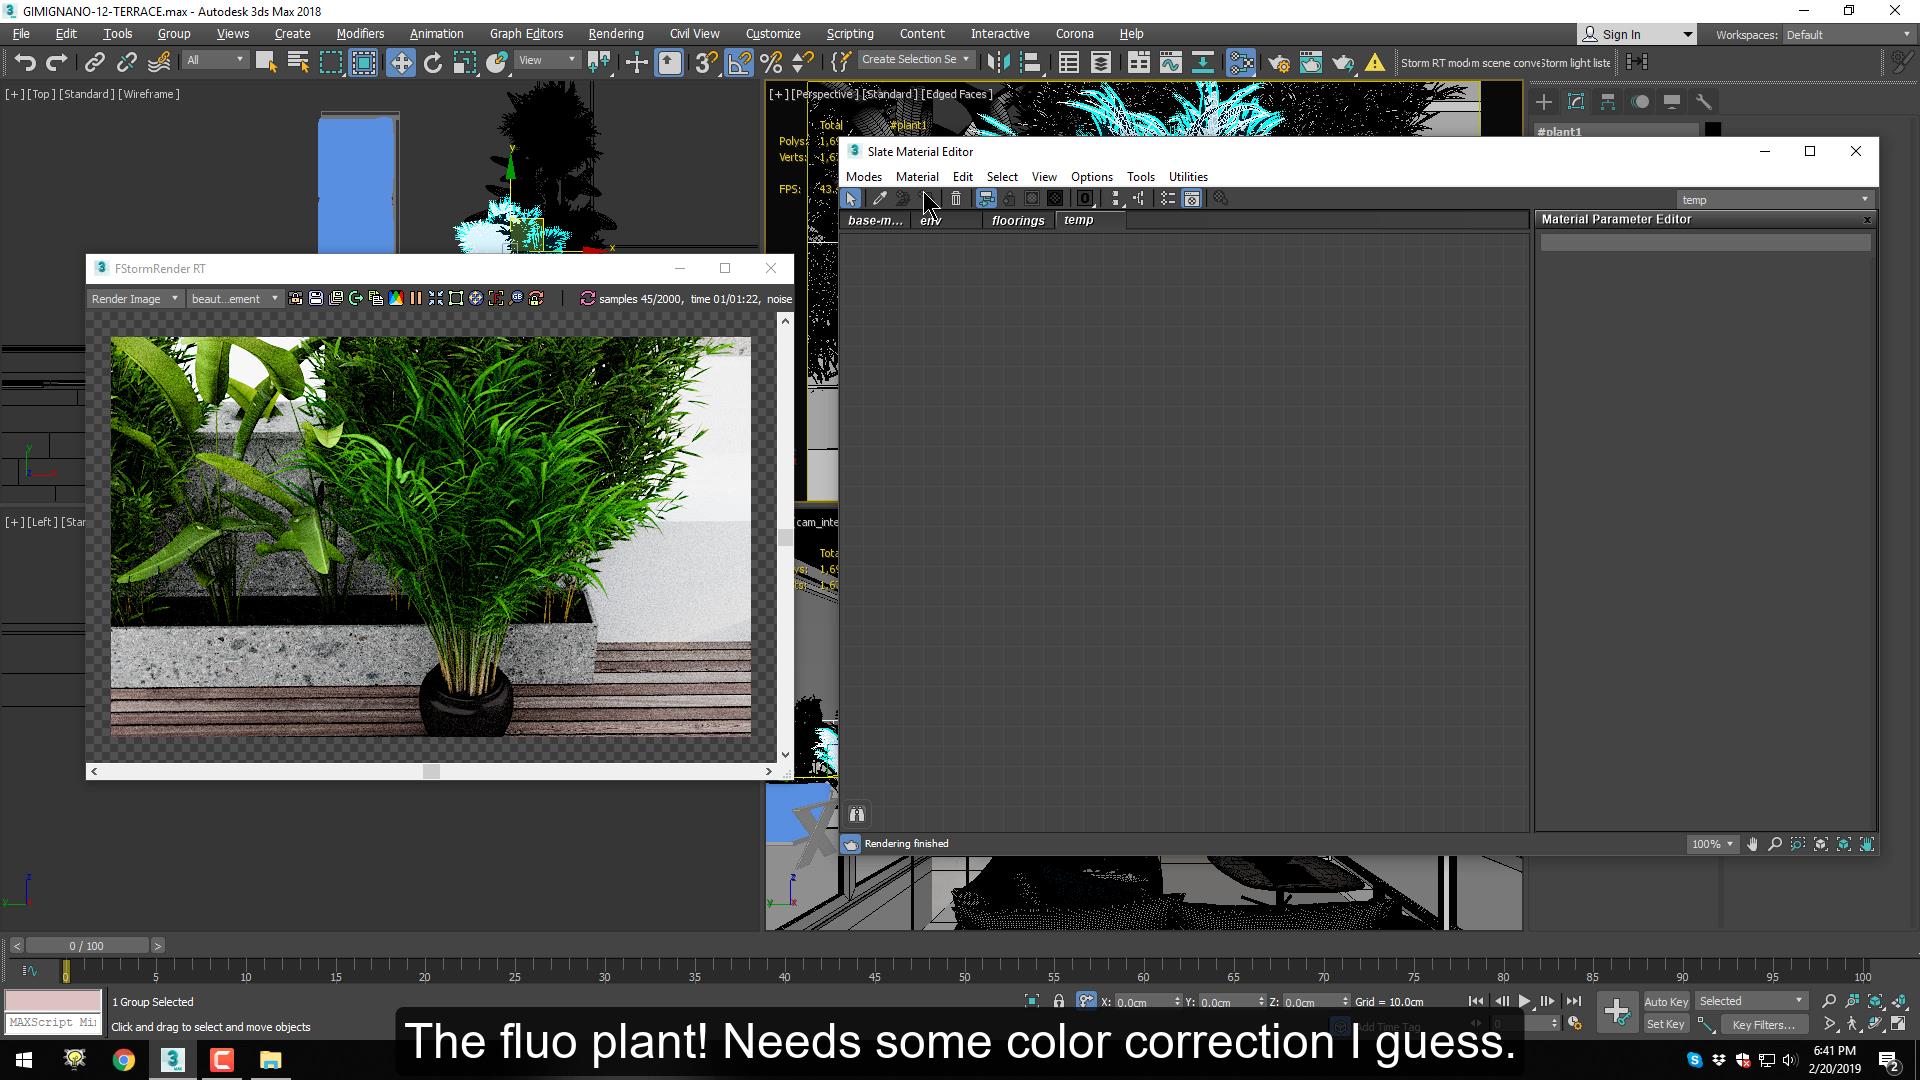
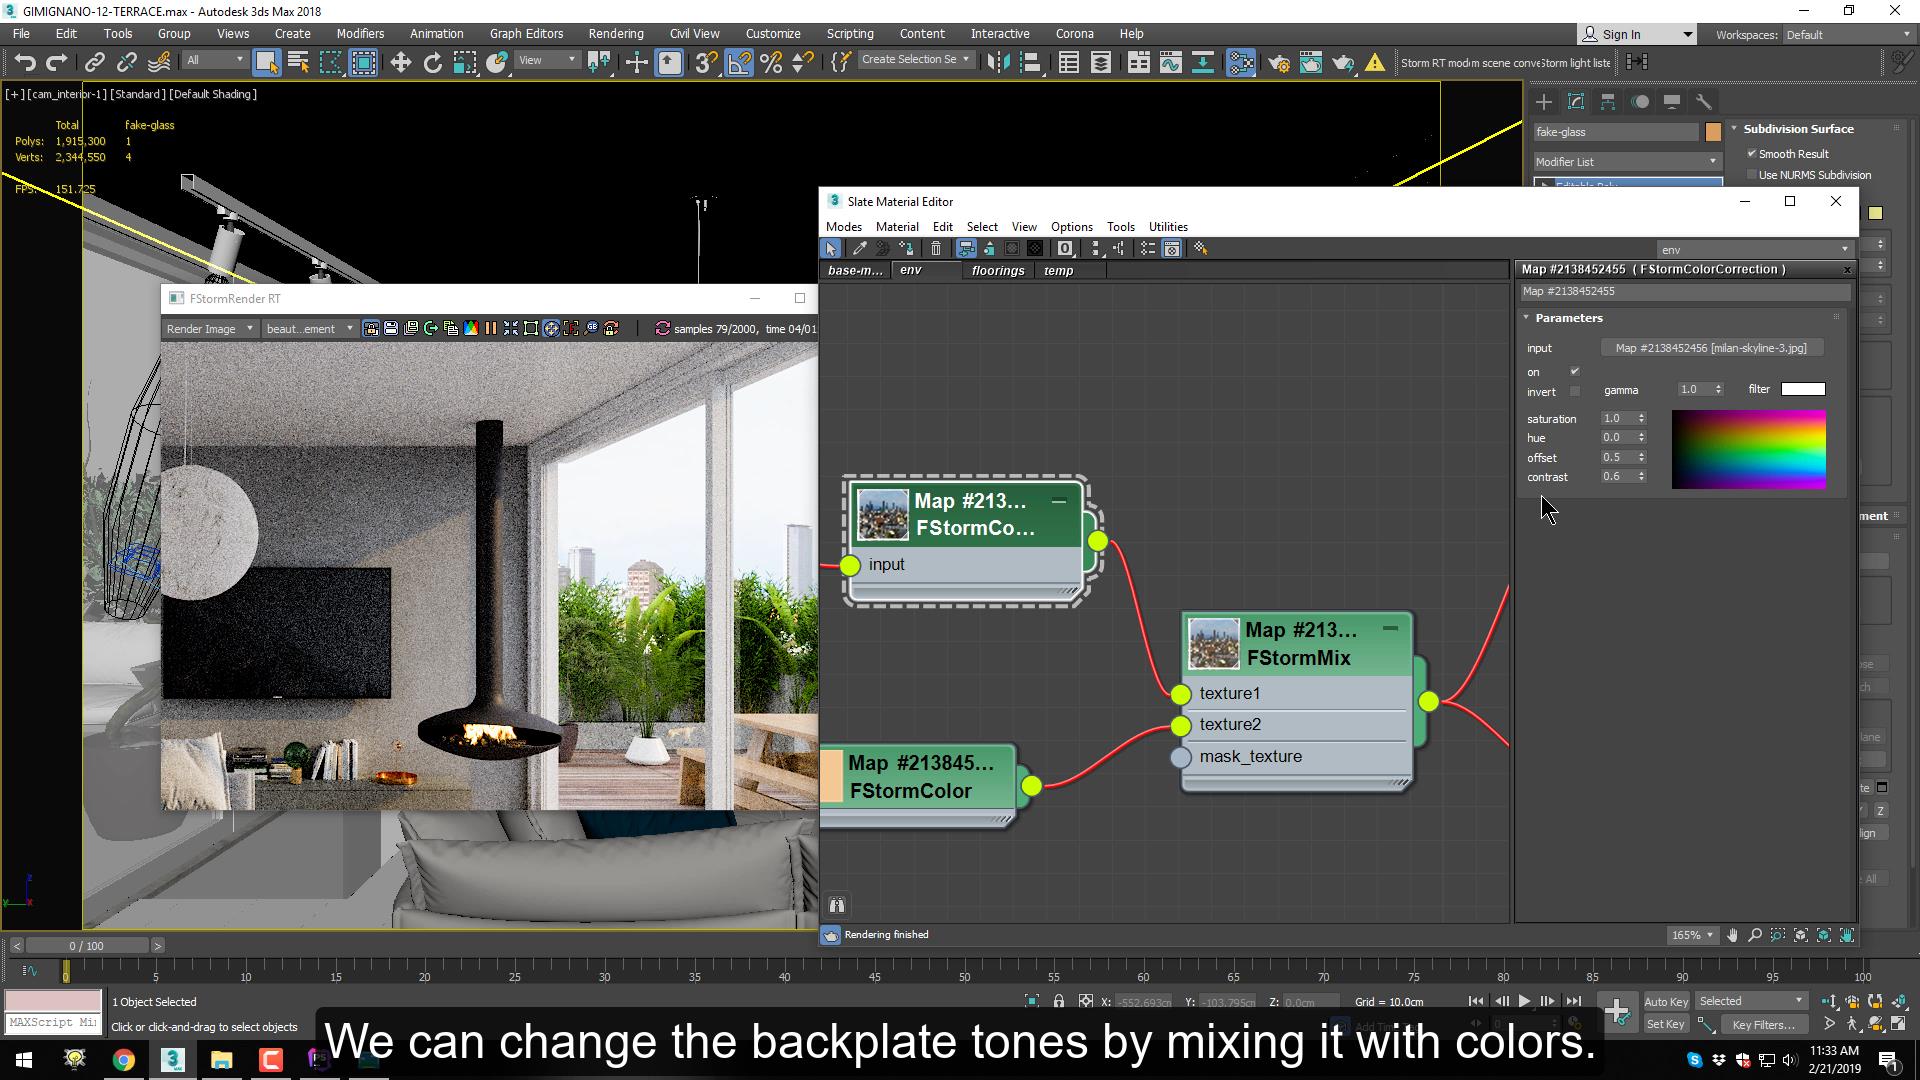
I have been working on this tutorial in my spare minutes: because of the environment I work in, I was unable to record my voice, but I could add captions. Making videos with commentary requires a tremendous amount of freedom, and I am still trying to find a personal balance in order to keep making tutorials. So, feedback is appreciated!
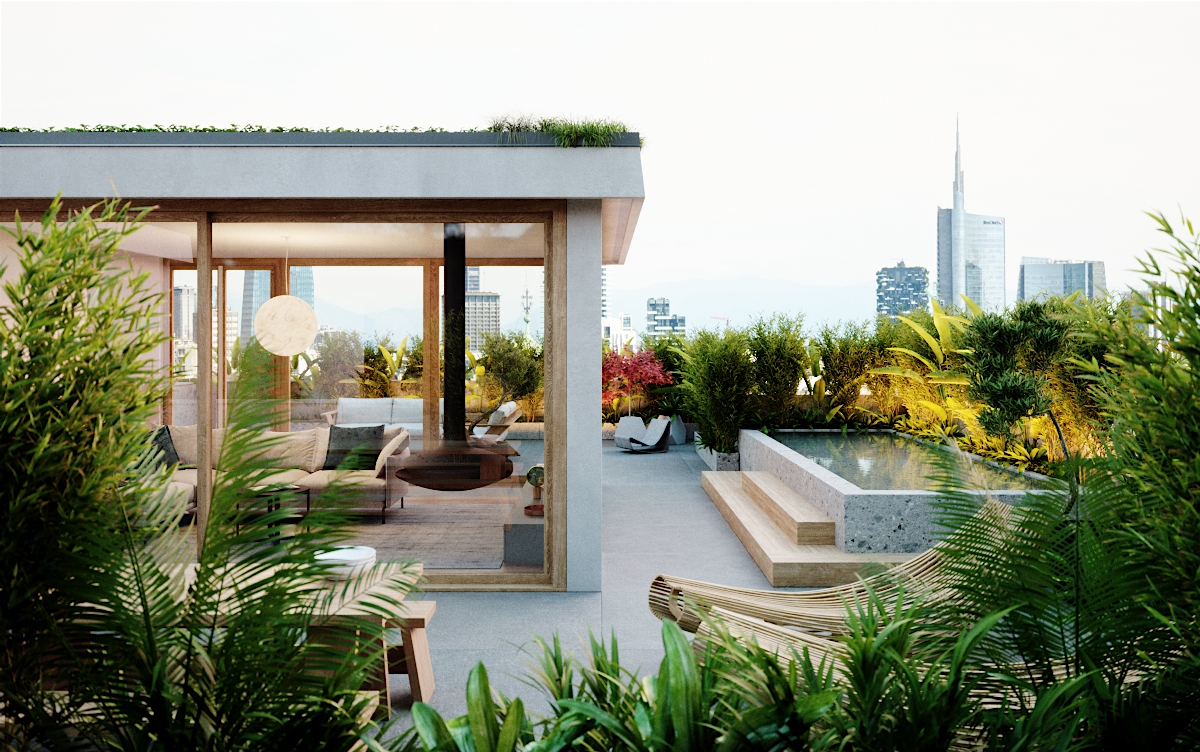
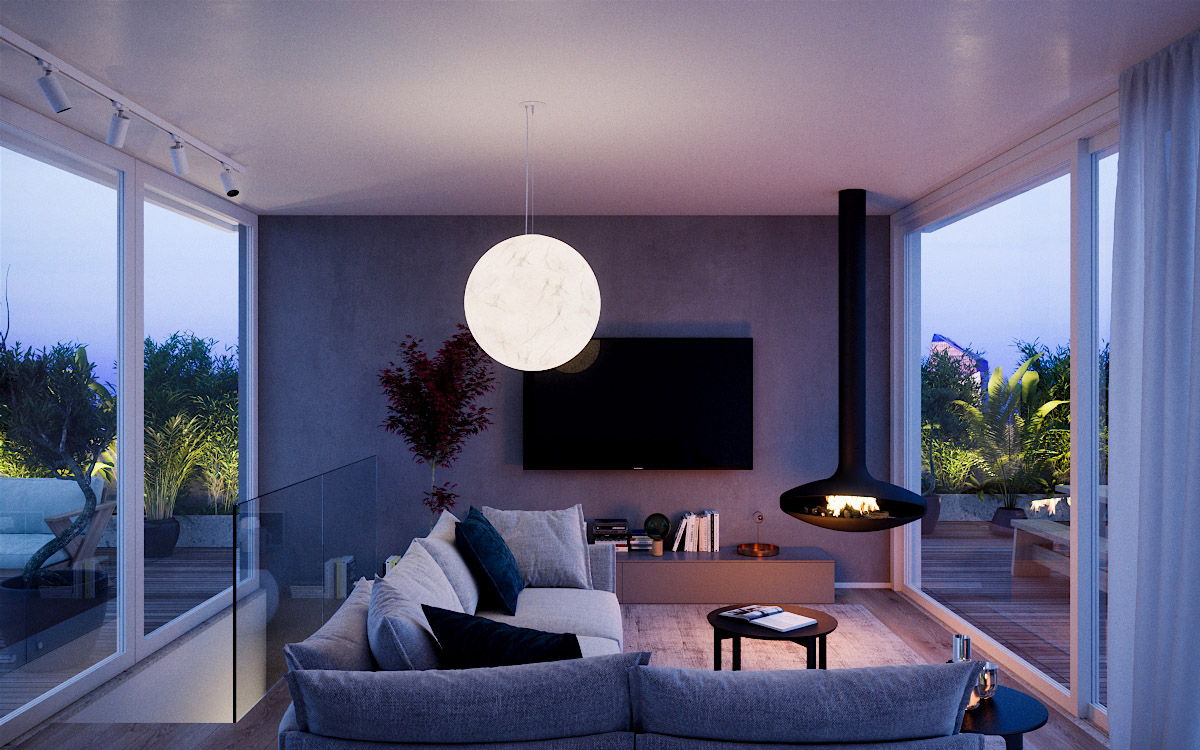
We'll get to the final result without post-production.
Also, we won't be using an HDRI-based lighting. I didn't even had the time to test out different HDRIs. Instead of that. we'll experiment with the Sky system.


You need to login to view lessons!
Lessons
- Project files
- Modeling
- Scene setup and day shots
- Night setup
- Exterior view
- The model in original .3DM format.
- The .MAX scenes both for the day and night setups, only the room (3ds max 2015).
- Some free textures from CGMOOD.
Paid assets are not included, but their names are featured in the videos.
Although it's not the main point of this tutorial, in this lesson you will see how I usually approach modeling for everyday stuff. I will be using Moment of Inspiration, which is a simple but powerful NURBS modeling tool.
From importing to the final day shots, without using post-production.
We won't be using a HDRI-based lighting for this project, but we'll test out the sky system.
We'll quickly change the scene into a night setup!
We'll setup the scene for the exterior shot. We'll test out different HDRIs for lighting.