
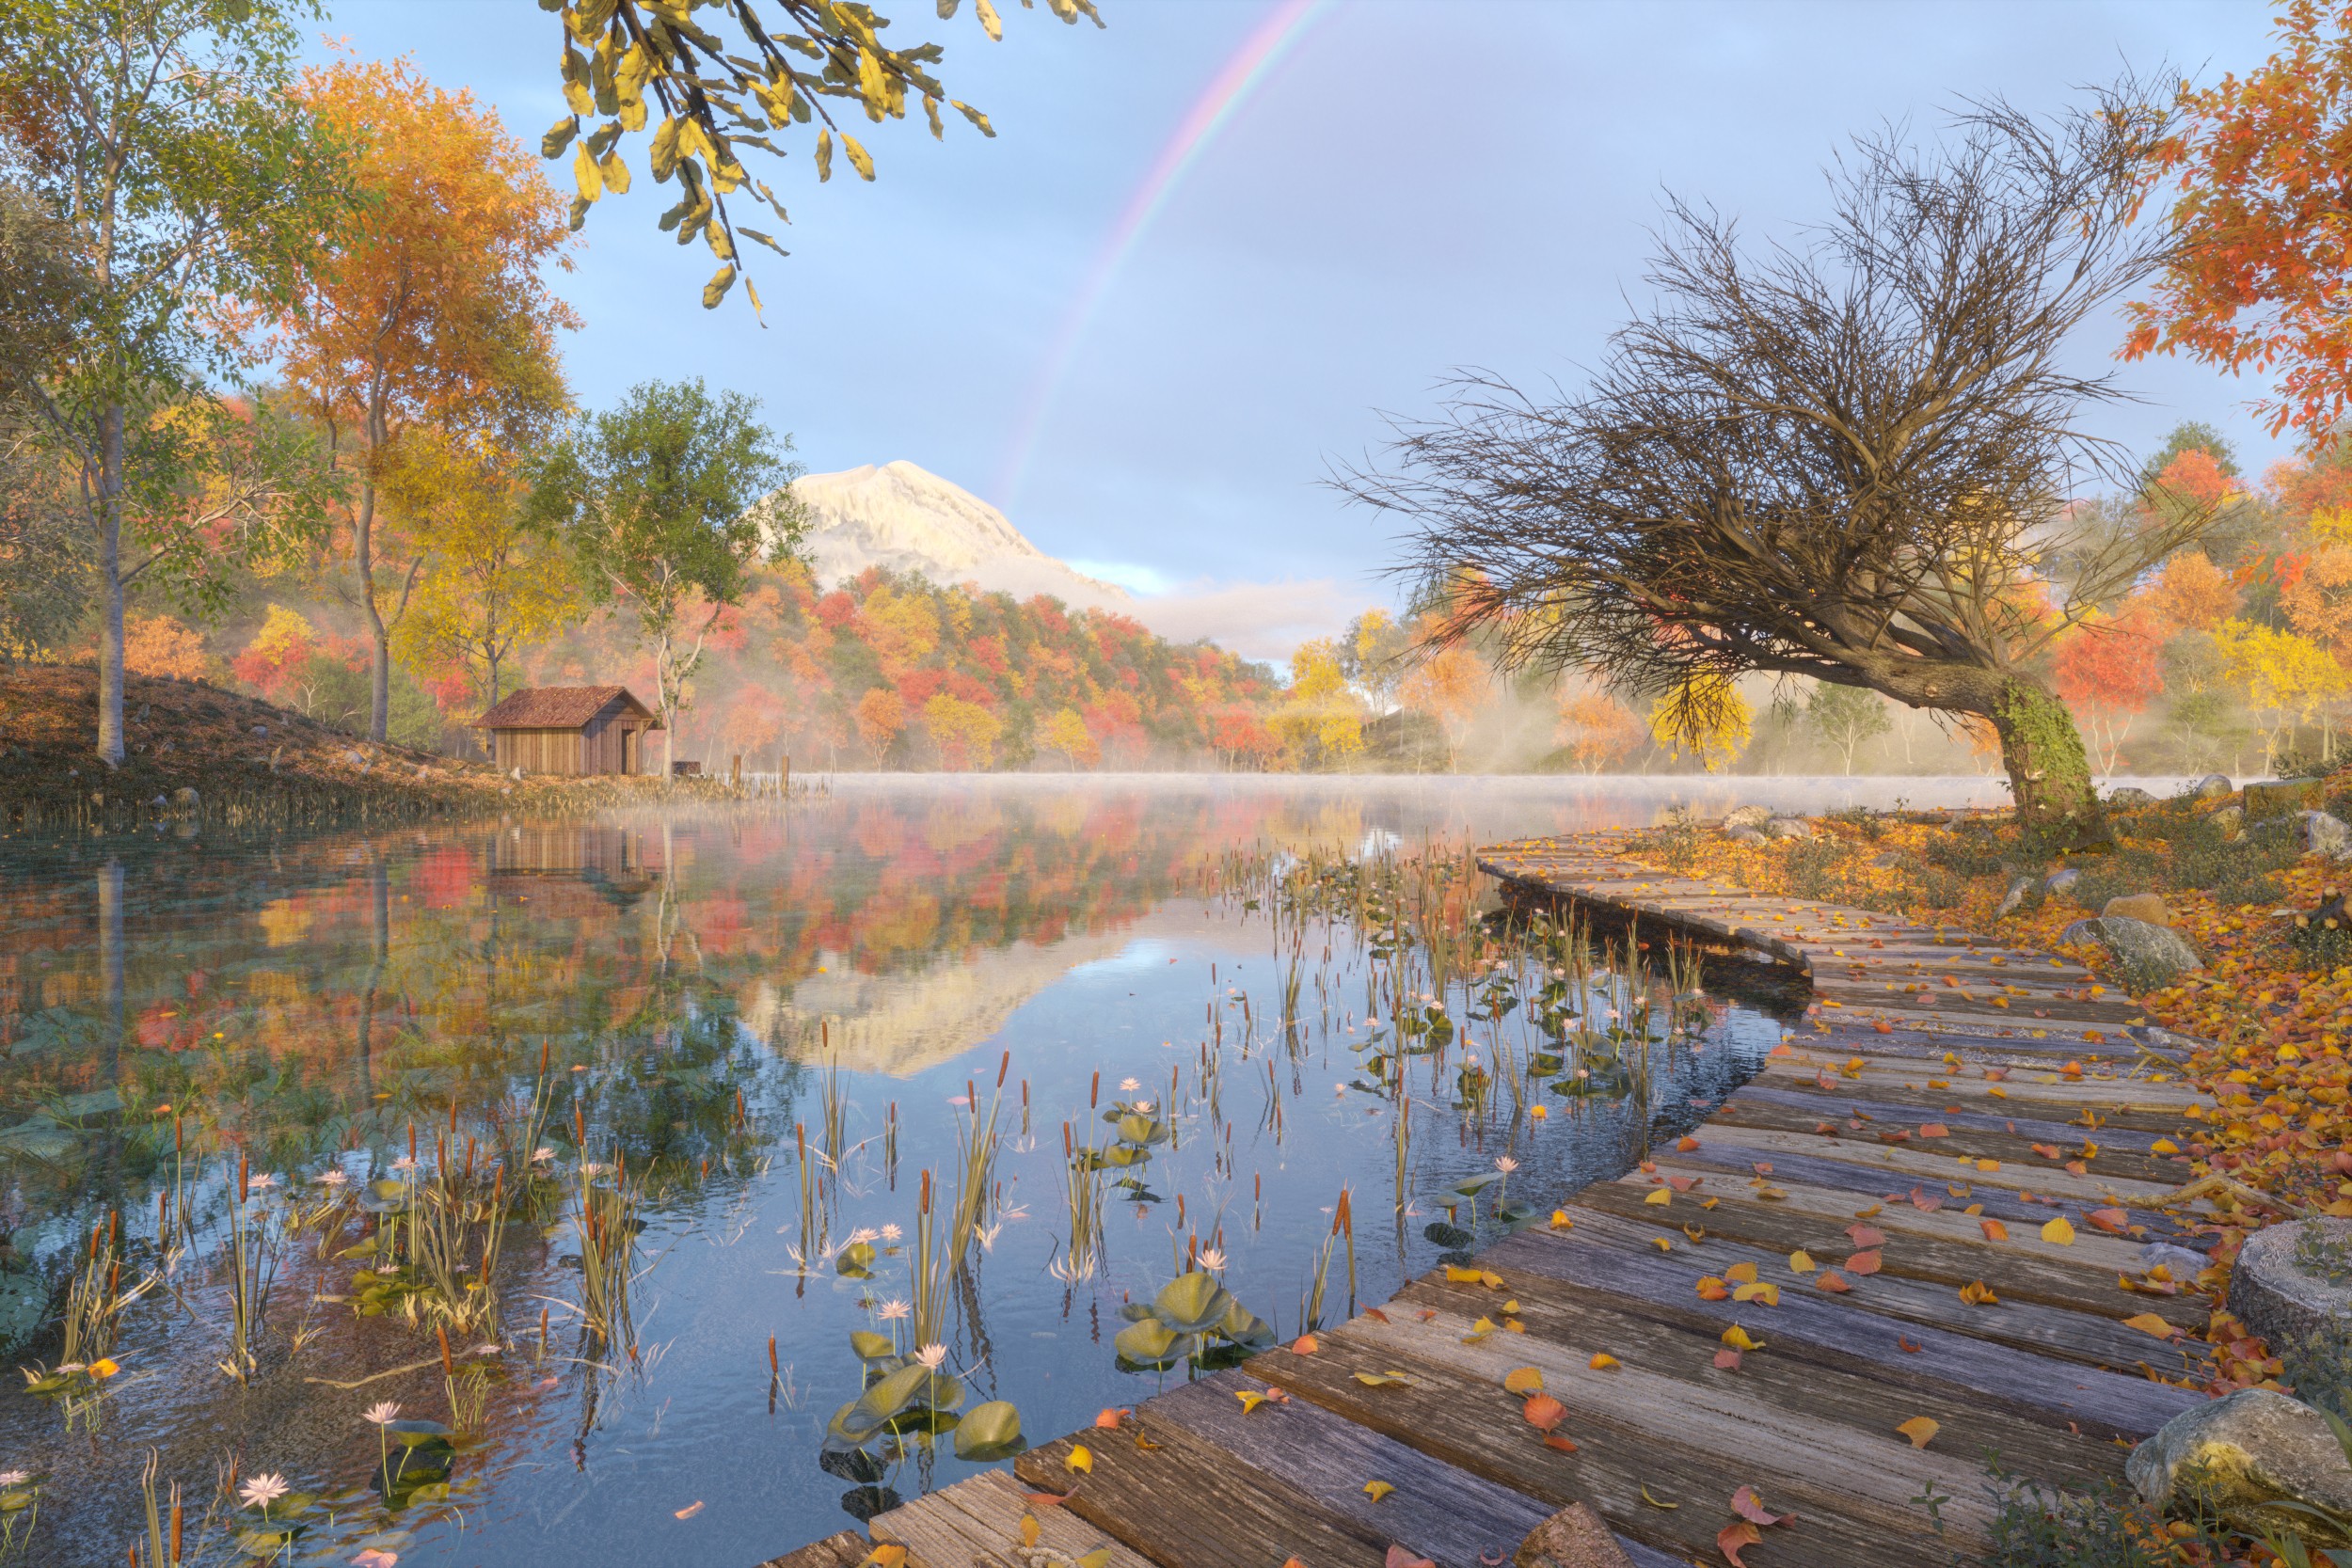
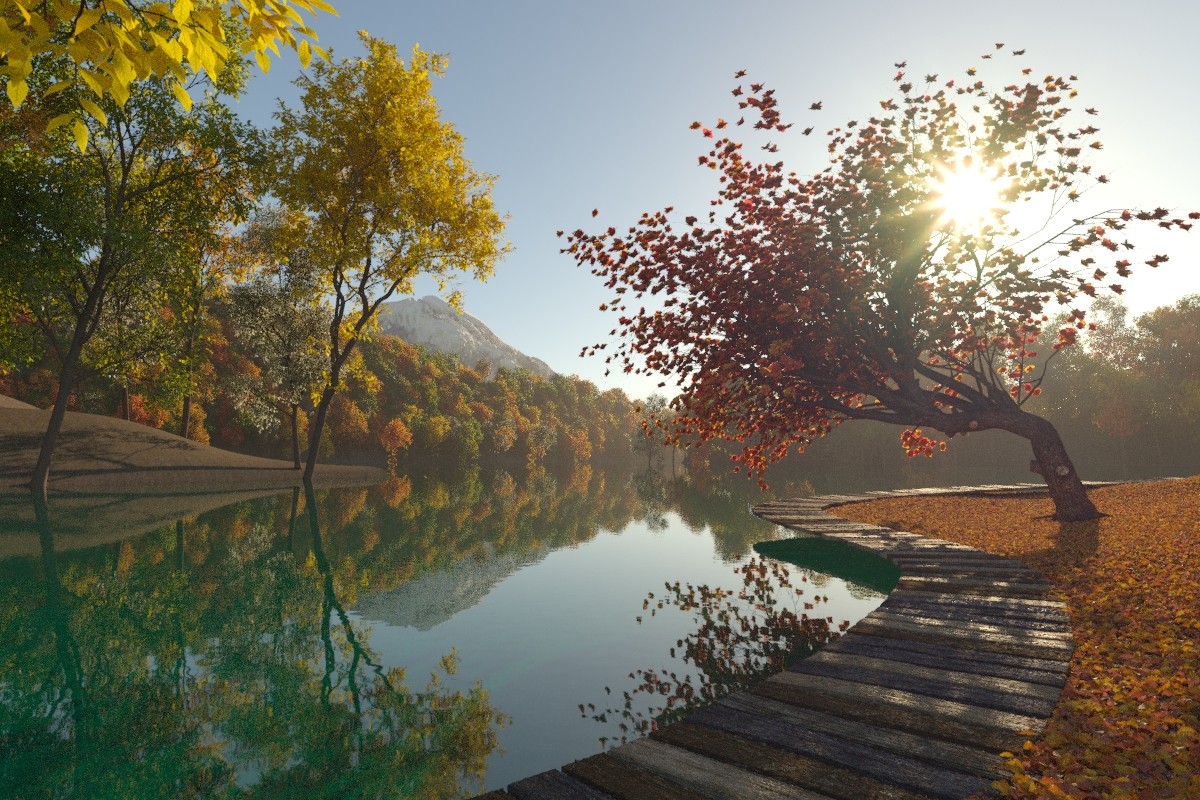
Tikin le'
- Tikin le '- (means Autumn in Mayan language).
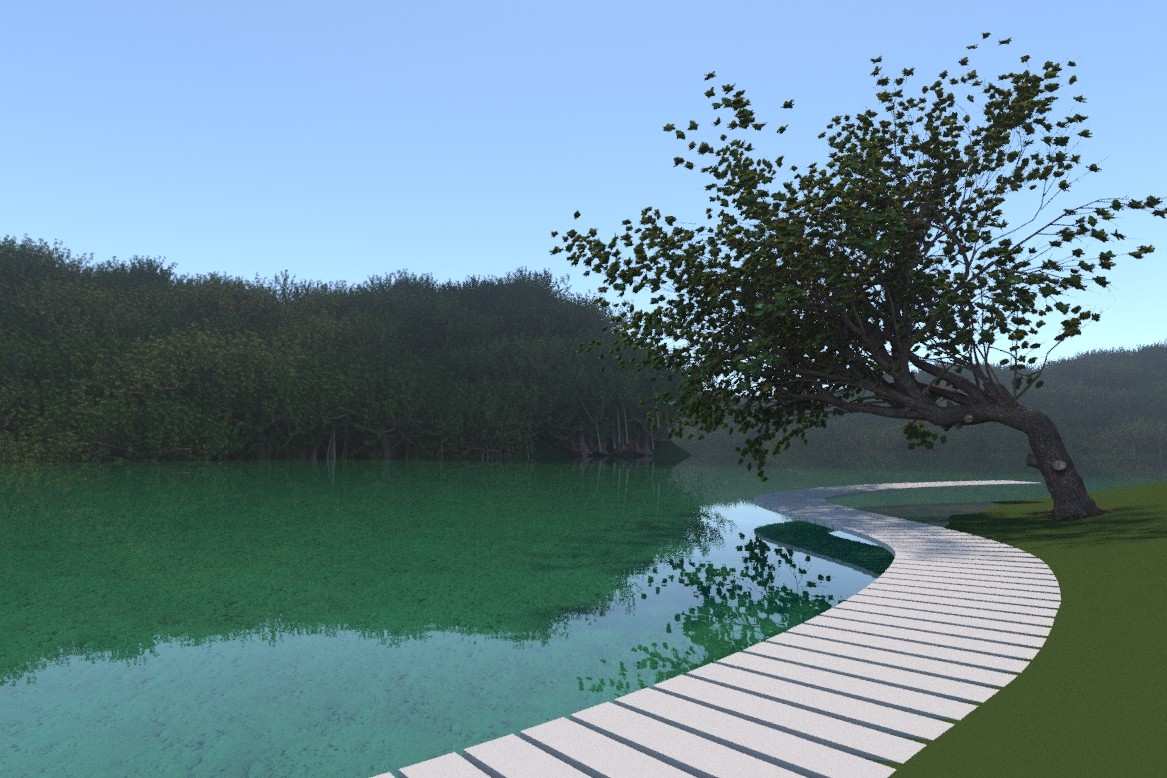
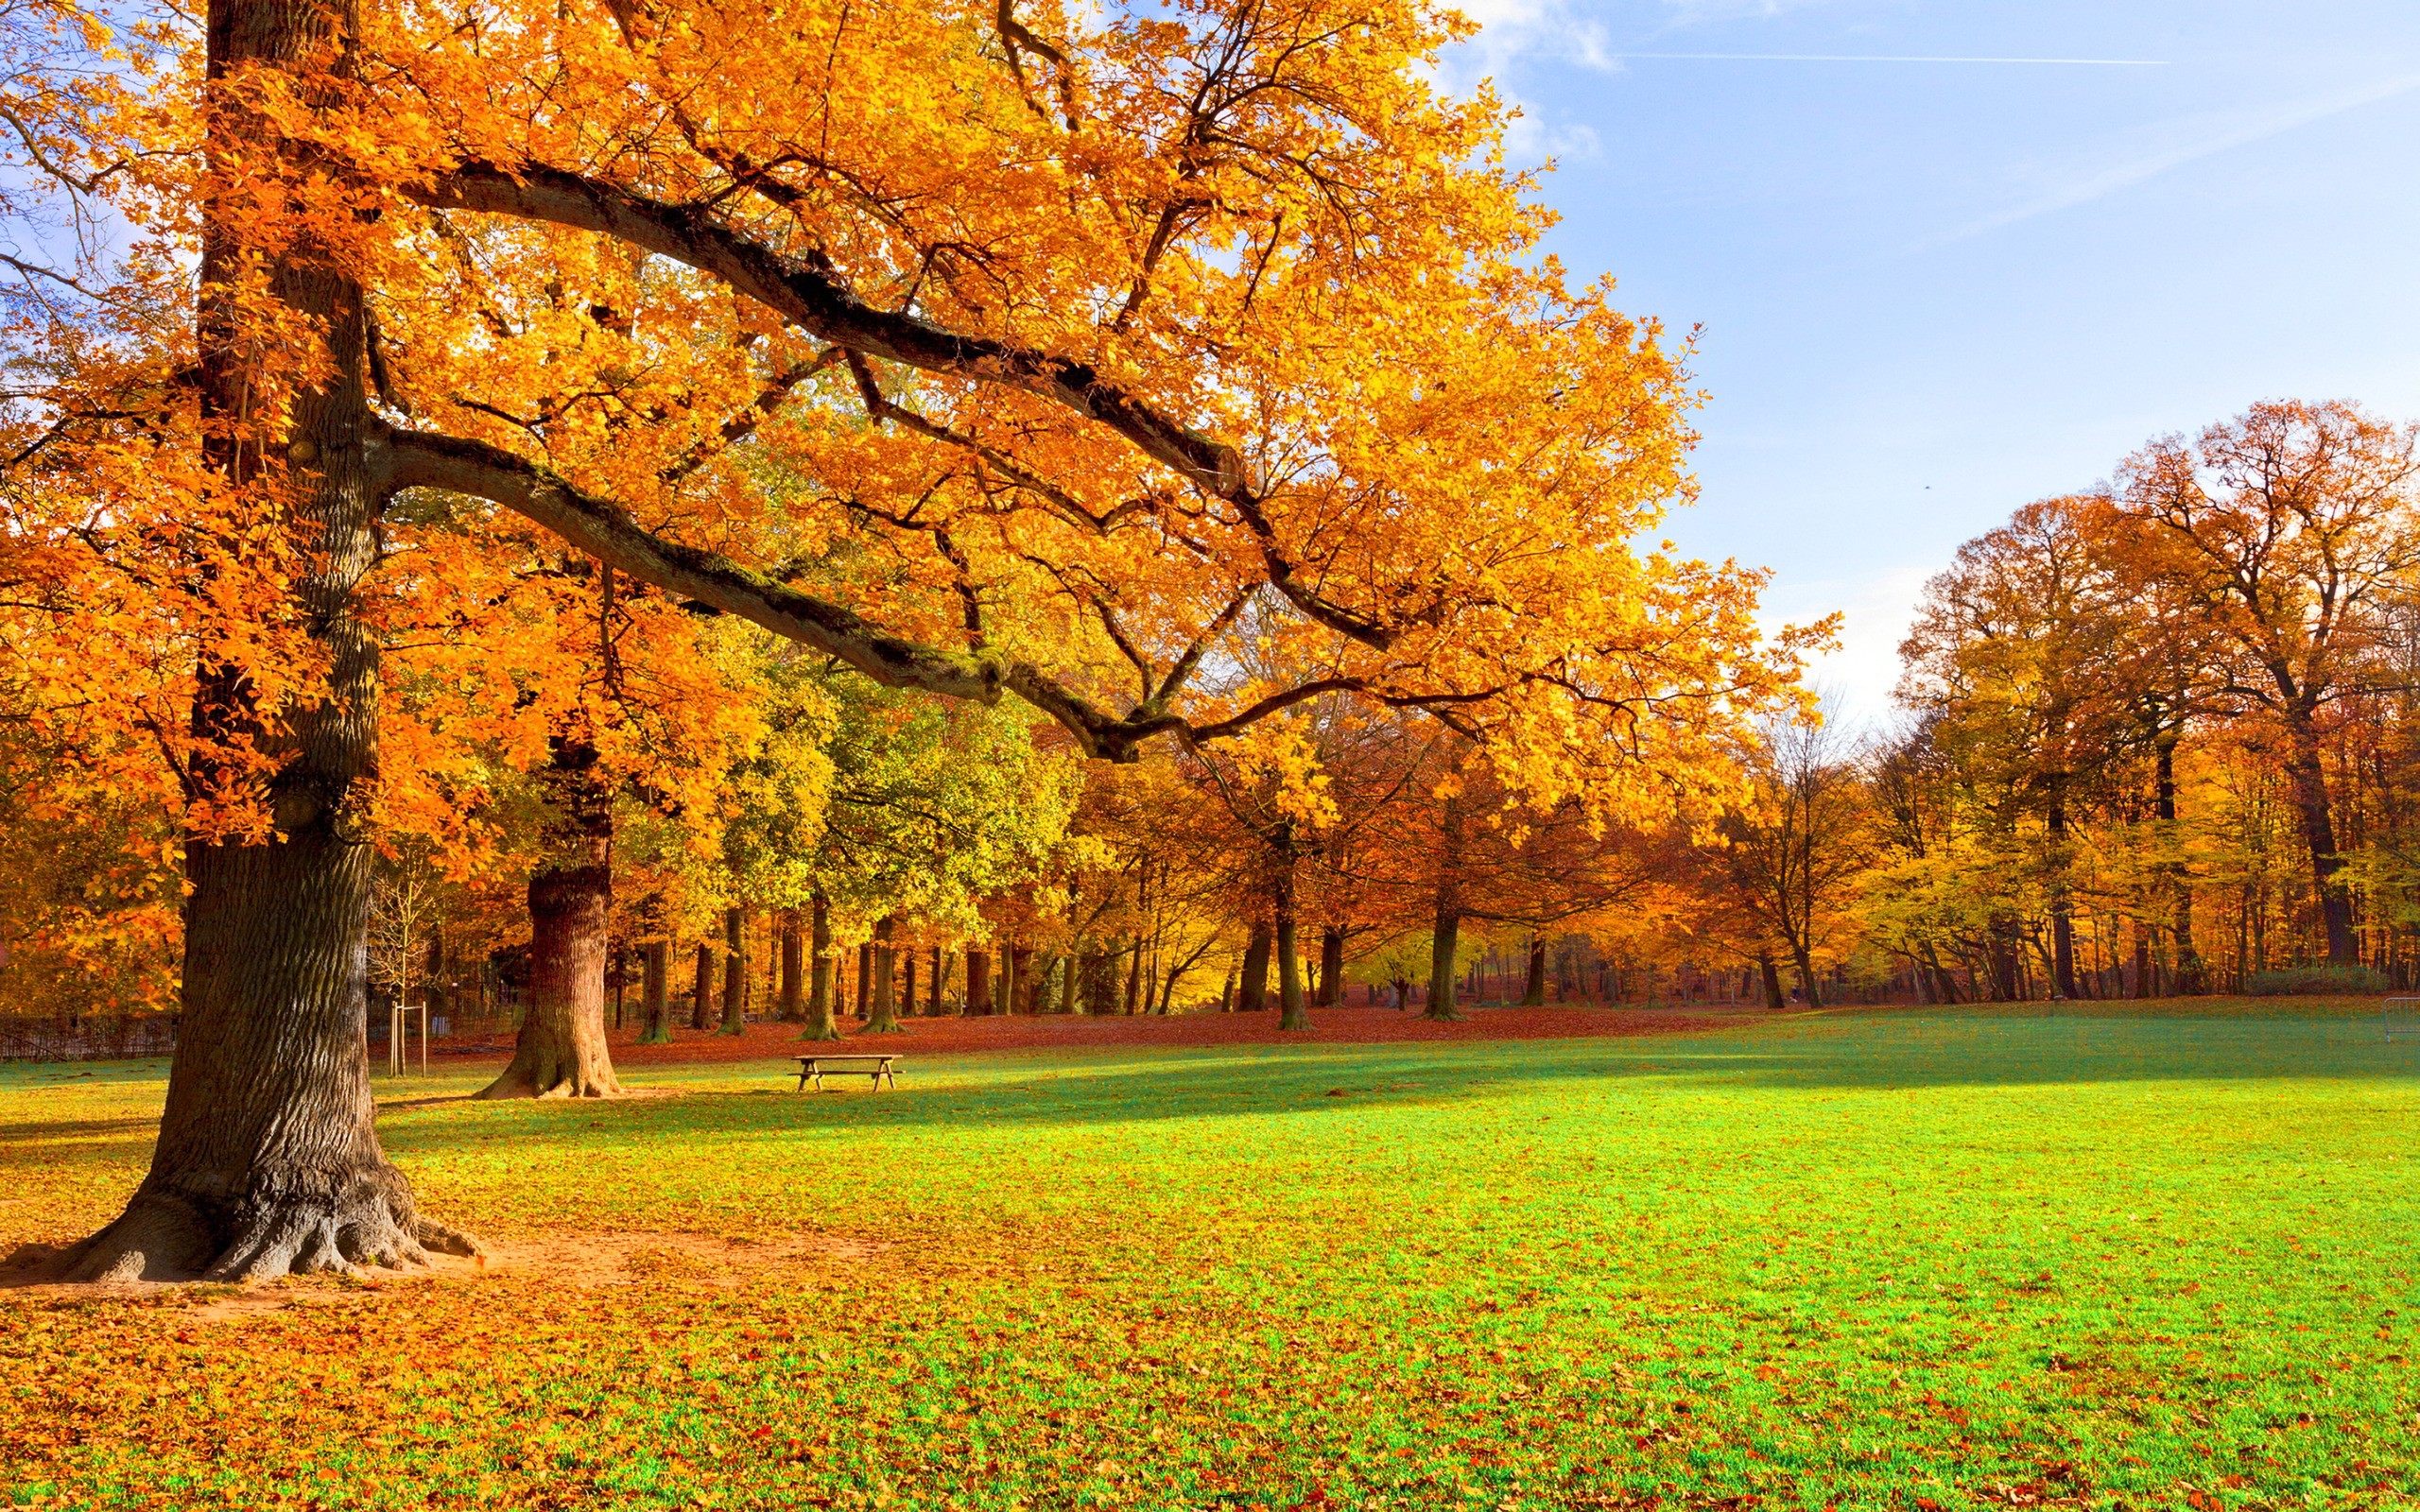
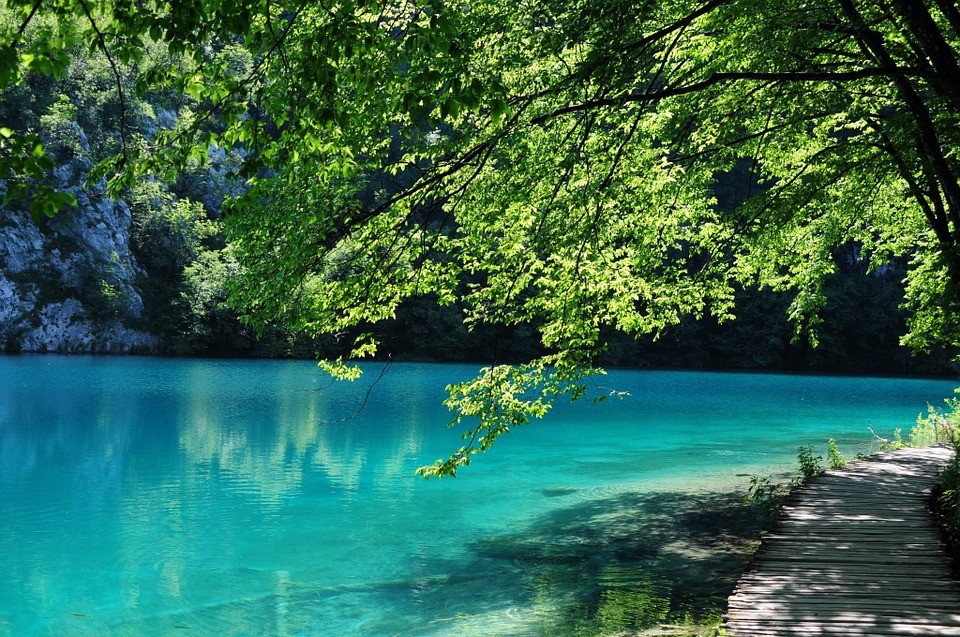
I was looking for a personal work about a natural landscape after seeing some photos on the web, specifically a photo of a curved tree. Then I knew about this competition and I decided to do my scene with an Autumn mood.
I do Archviz for a living, so this kind of nature scenes are not usually asked by clients and I always use my personal works to learn new stuff and to explore new techniques and styles, so I decided to do this image.
It needed a lot of landscaping and detail, nature is too random and too loaded of detail, so doing this work was a real challenge for me because I tried to use as less RAM as possible. The scene used only 22 GB of RAM during rendering phase besides it uses millions of proxies and displacement mods.
The software used was SpeedTree + 3dsMax 2017 + Corona + AE + PS + DabartiCapturePro
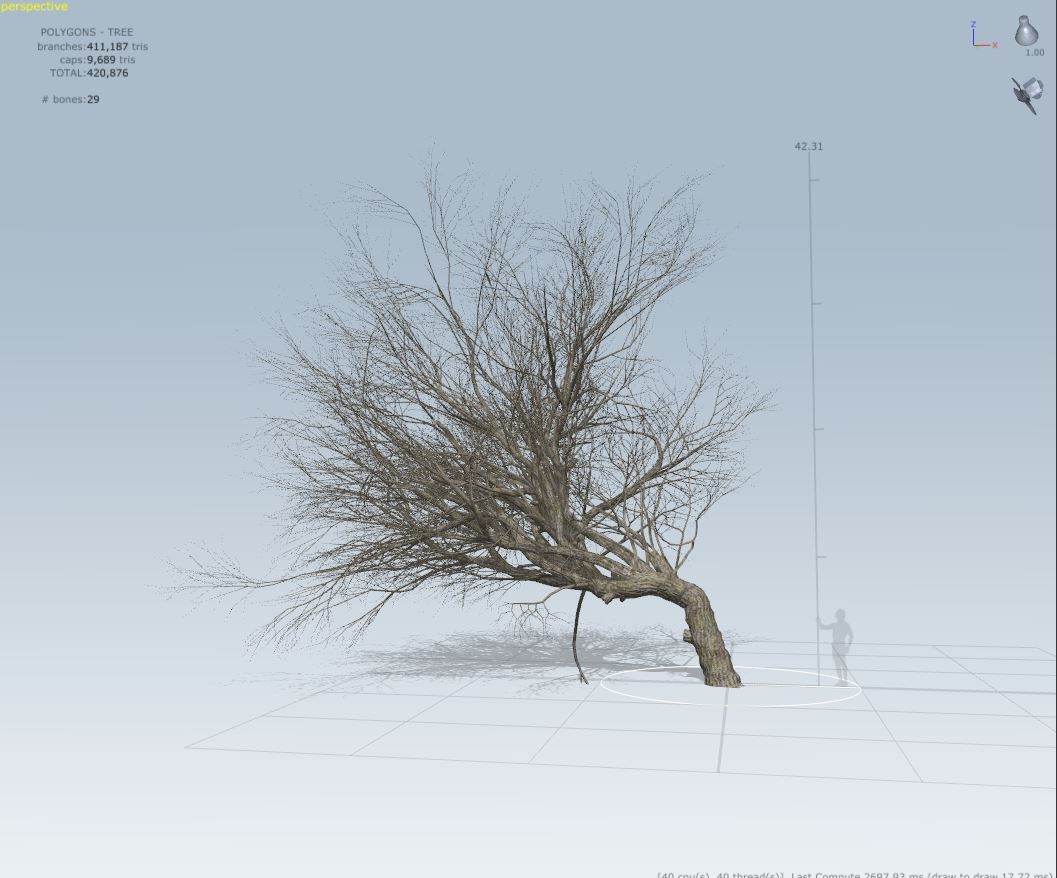
First I modeled the curved tree in SpeedTree. I have used SpeedTree before using some templates and doing changes to get animated trees for animations but this was the first time I used it to create my own tree from the beginning, so this was my first challenge.
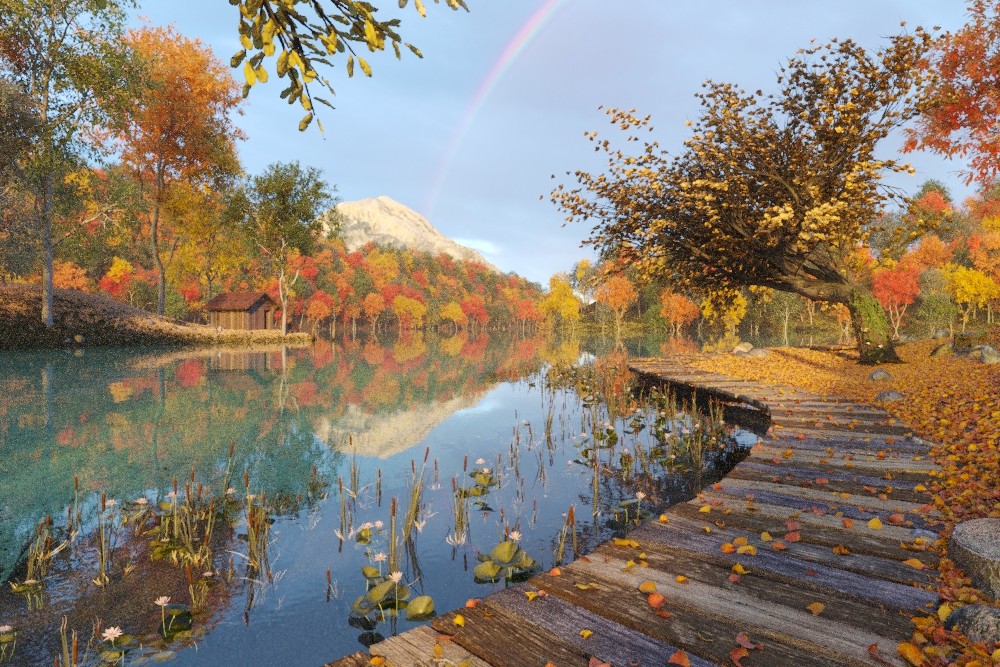
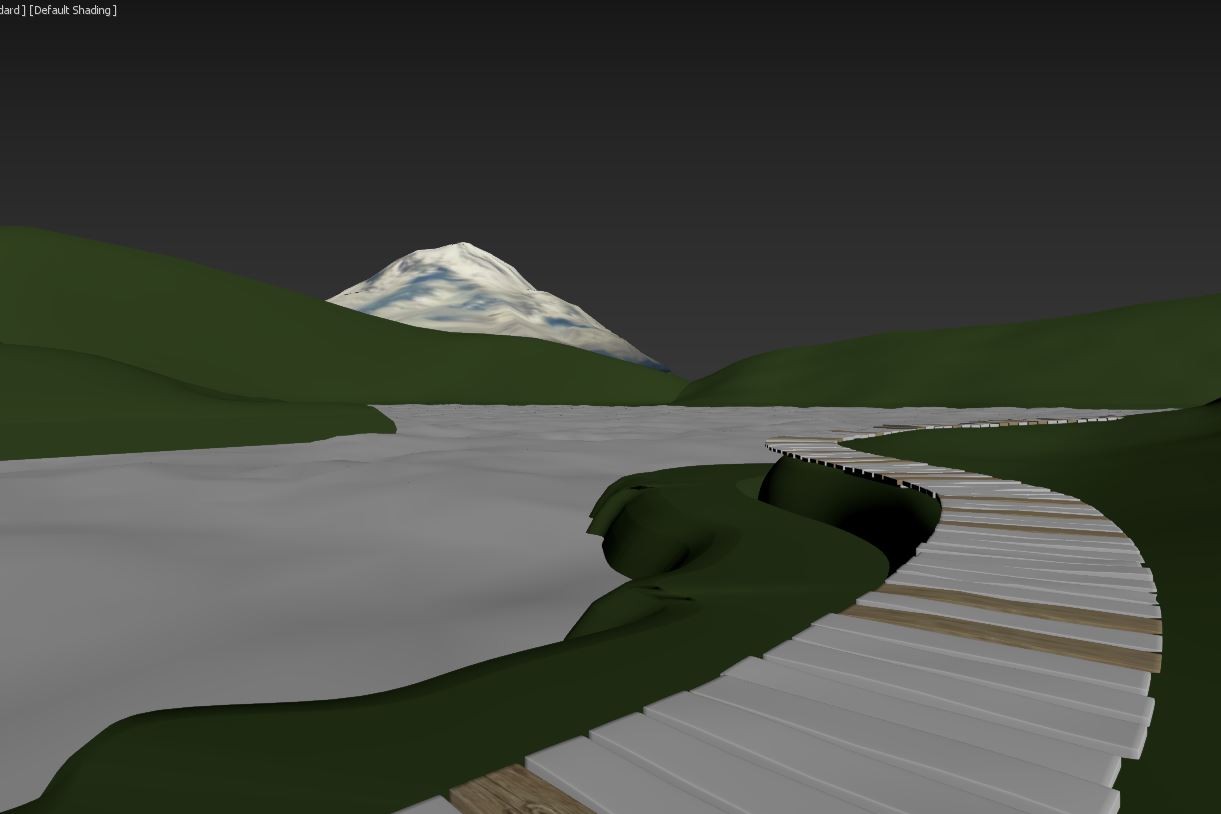
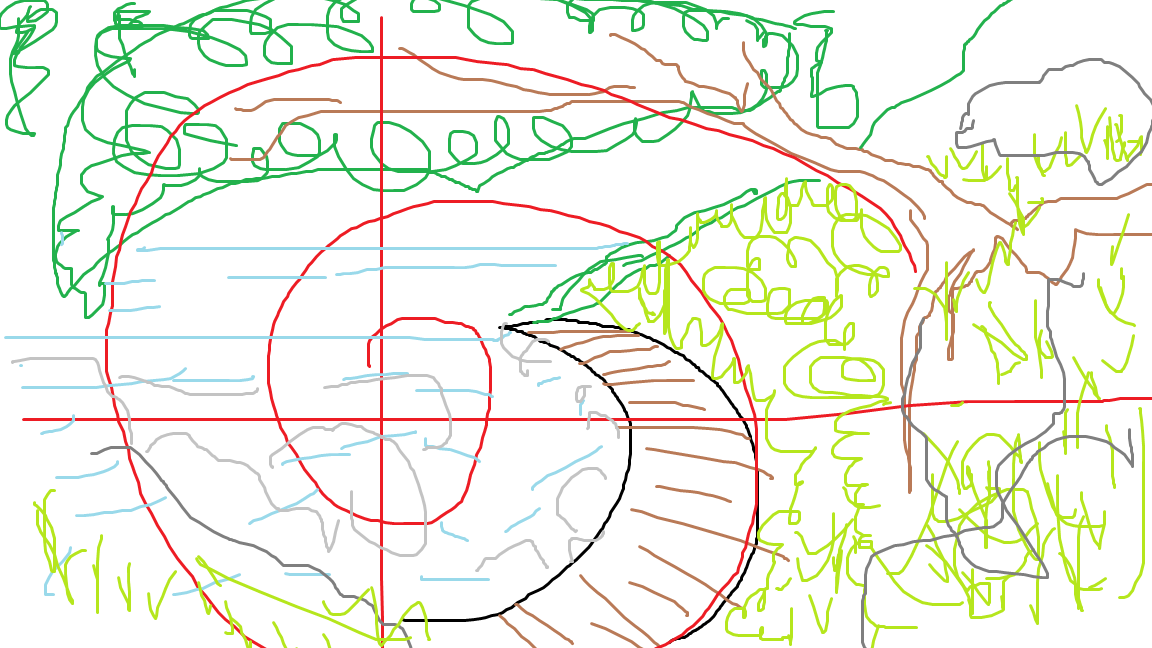
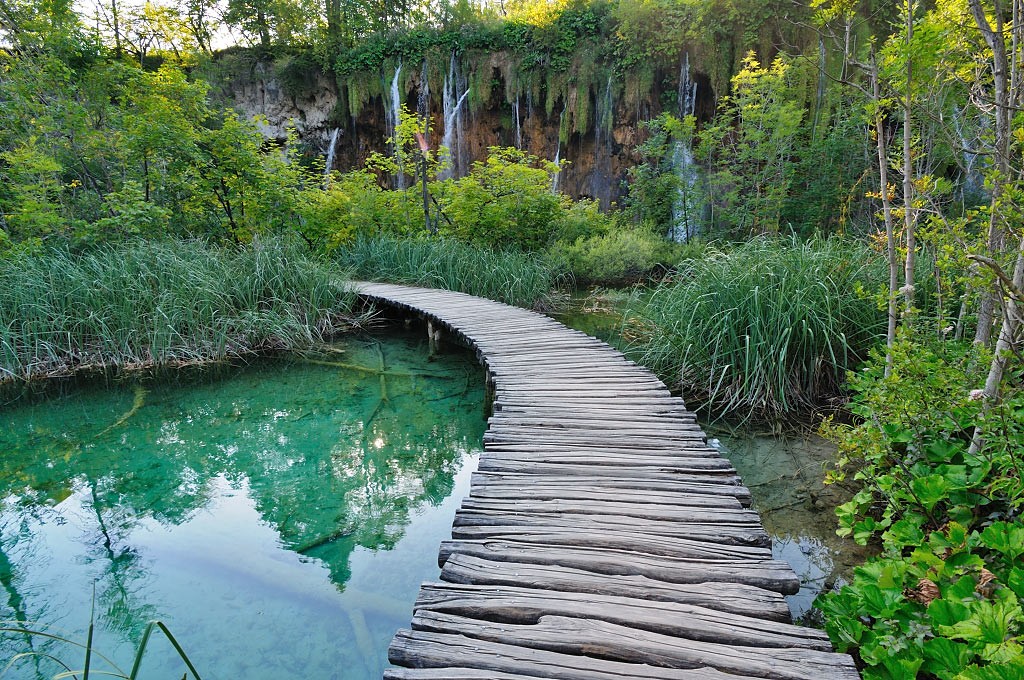
Then in 3ds Max I modeled the landscape. I wanted to do an image that was composed with the Golden Ratio, so I modeled the wooden road and mountains to get it.
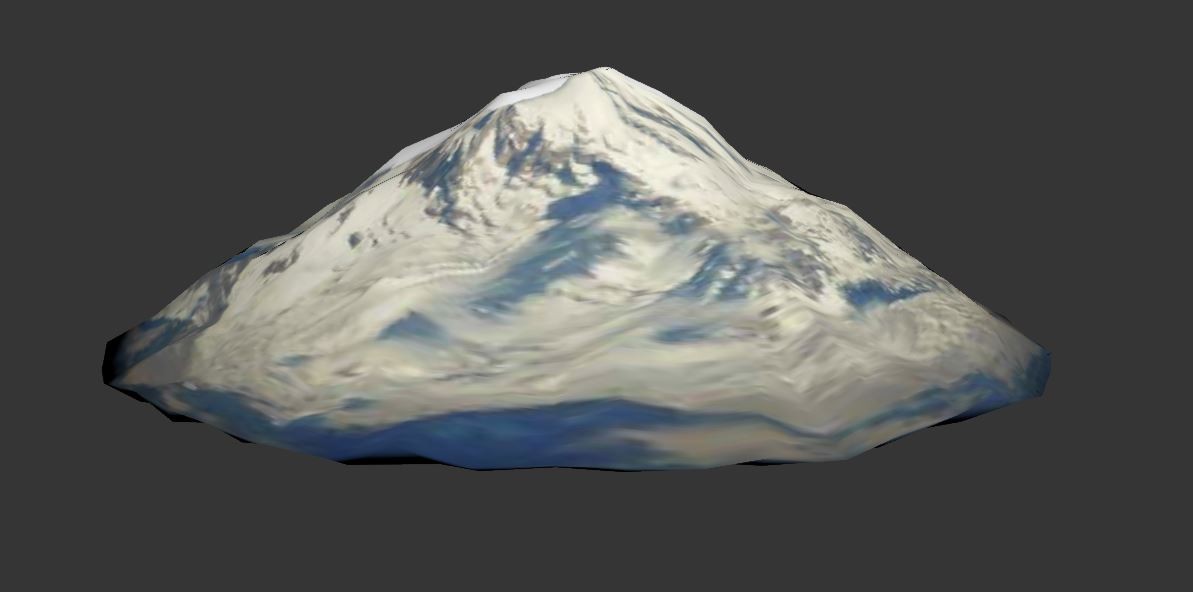
The volcano is just a cone with displacement maps and the mountains are just just plans with deformations.
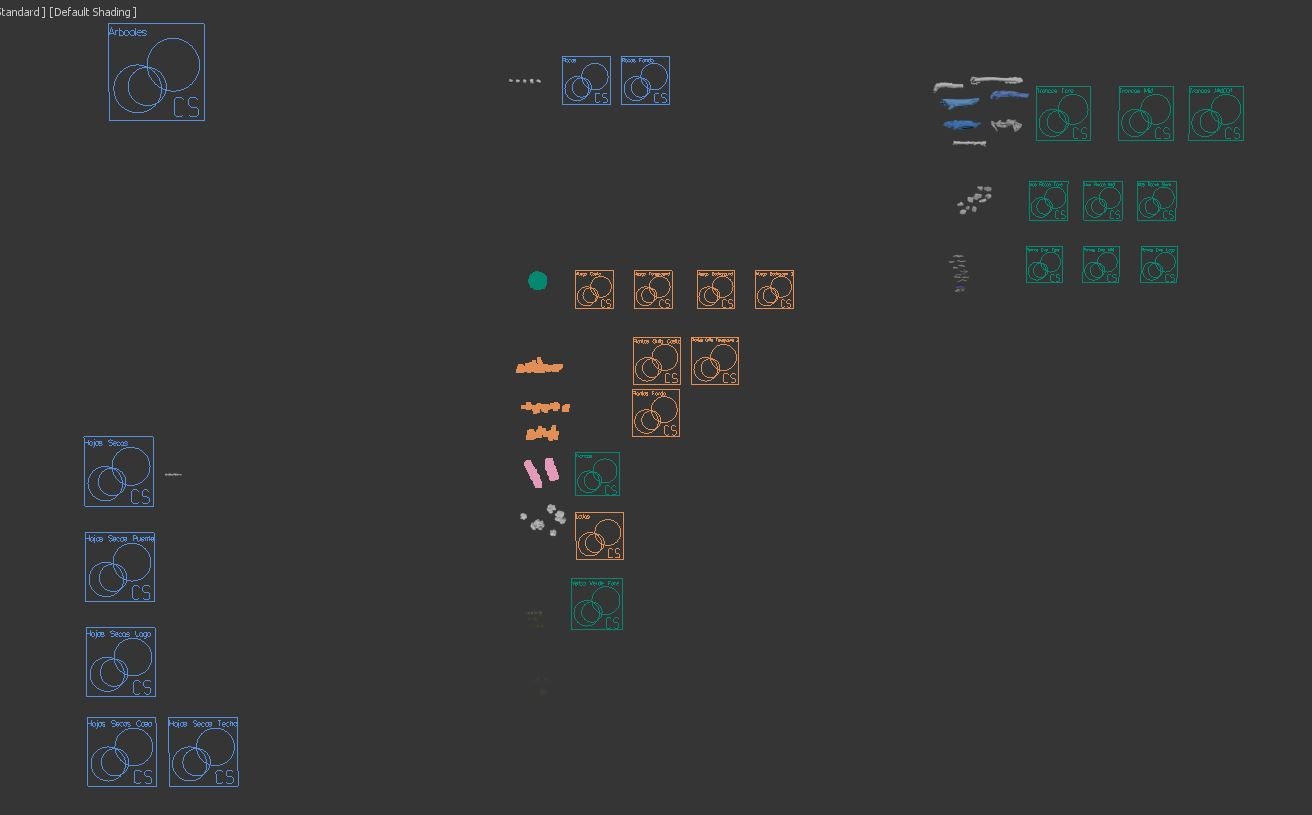
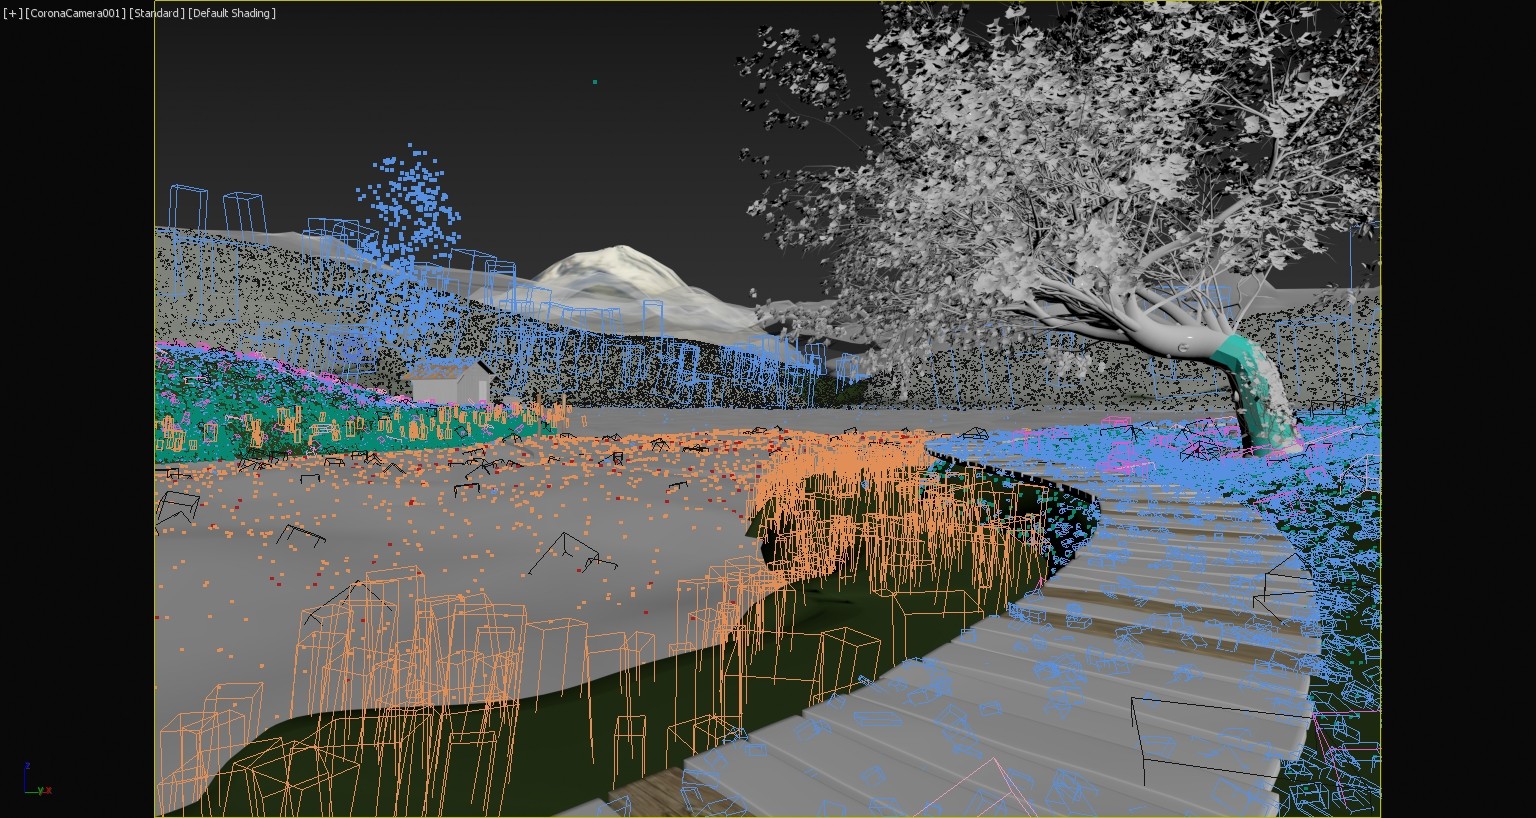
As part of my work I create Architectural Animations and I am a "Full 3D" guy, that means that I like to have the most things possible within the 3D Scene so if I have to move the camera, the objects are already there and I do not have to suffer doing trackings or super difficult (for me) VFX compositions. For that reason I decided to go Full 3D with this scene.
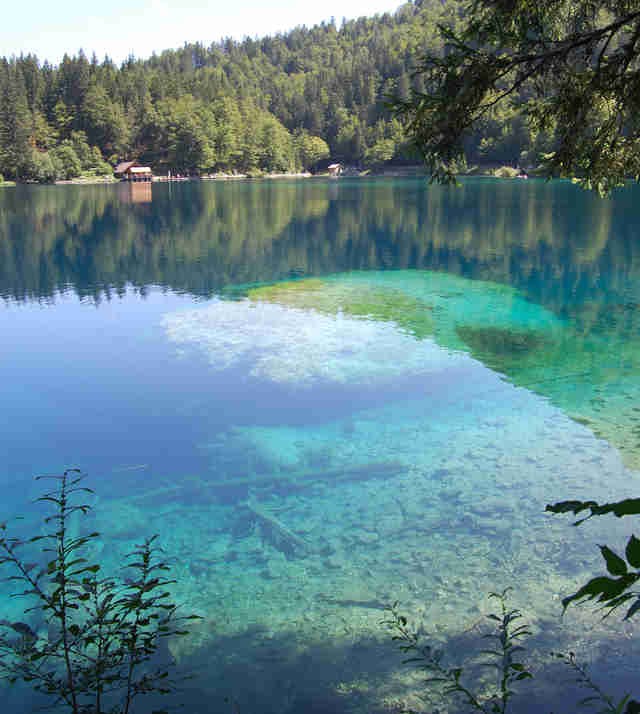
I spent a lot of time scattering trees and objects. I put different things such as: Trees, twigs, stones, undergrowth, leaves. Also I put them underwater. I tried to place them correctly so they will look natural.
The scene is divided in Foreground, Middleground and Background, so the scatters have different values between them to use the less instances as possible, optimizing the scene for rendering. Also I played with the scale of them so the ones in the background are a little bigger to be noticeable in the final image.
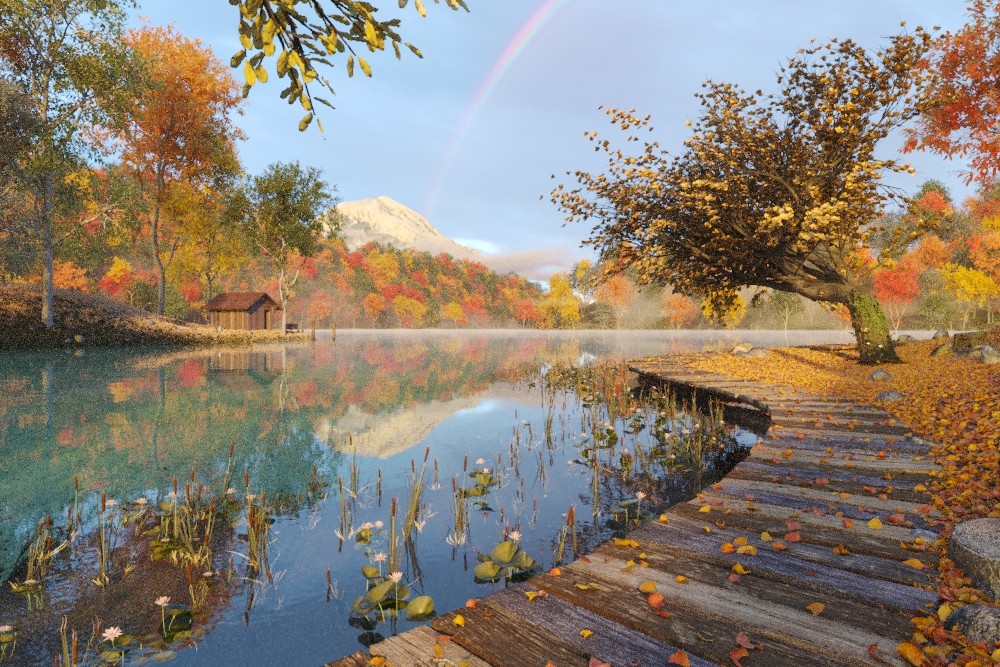
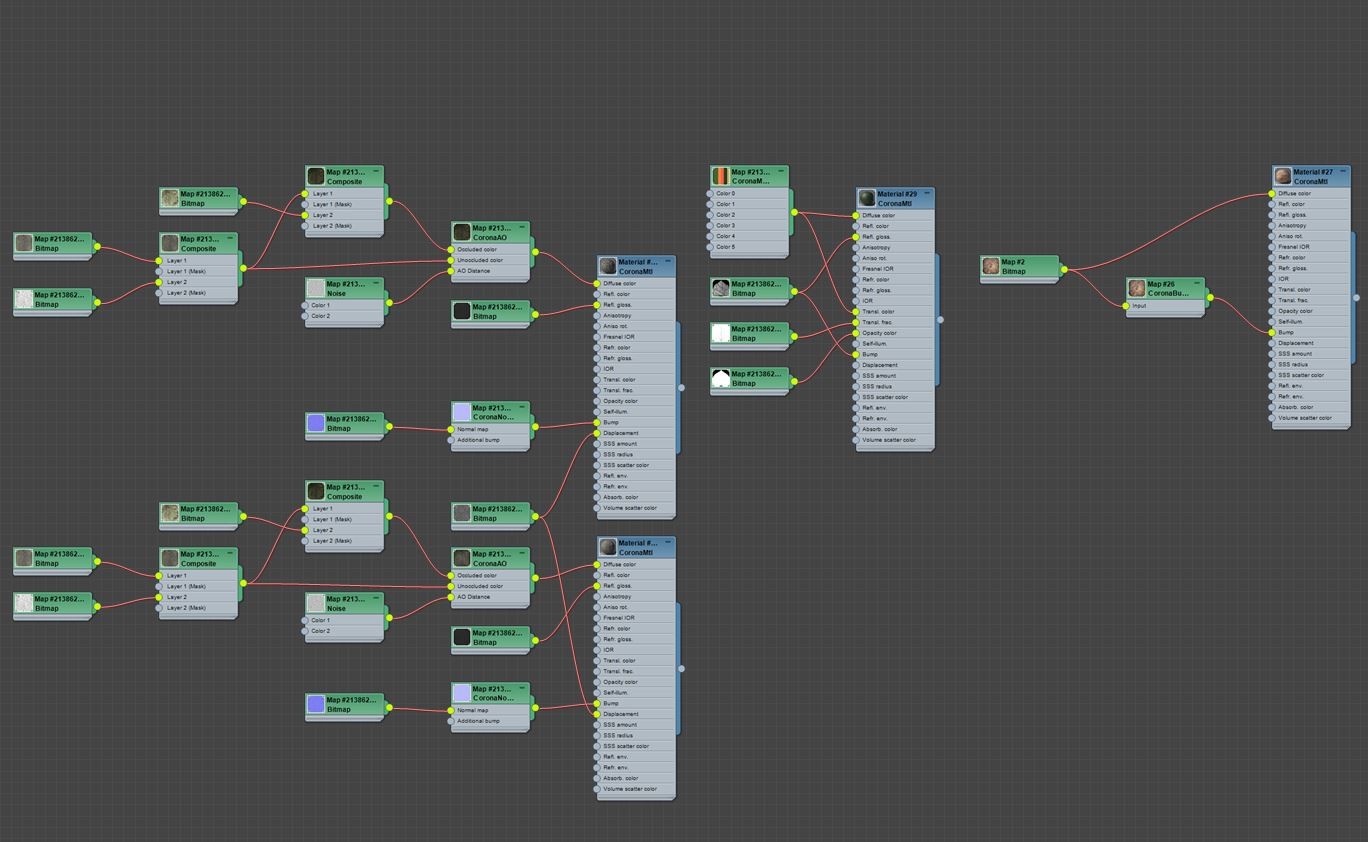
I also used a lot of Displacement maps. Some remarkable objects are:
-The texture of the yellow leaves up in the foreground (scanned by me using Dabarti Capture Pro)
-The wood bark of the curved tree
-The wooden boards
-The water near the plants next to the boarder.
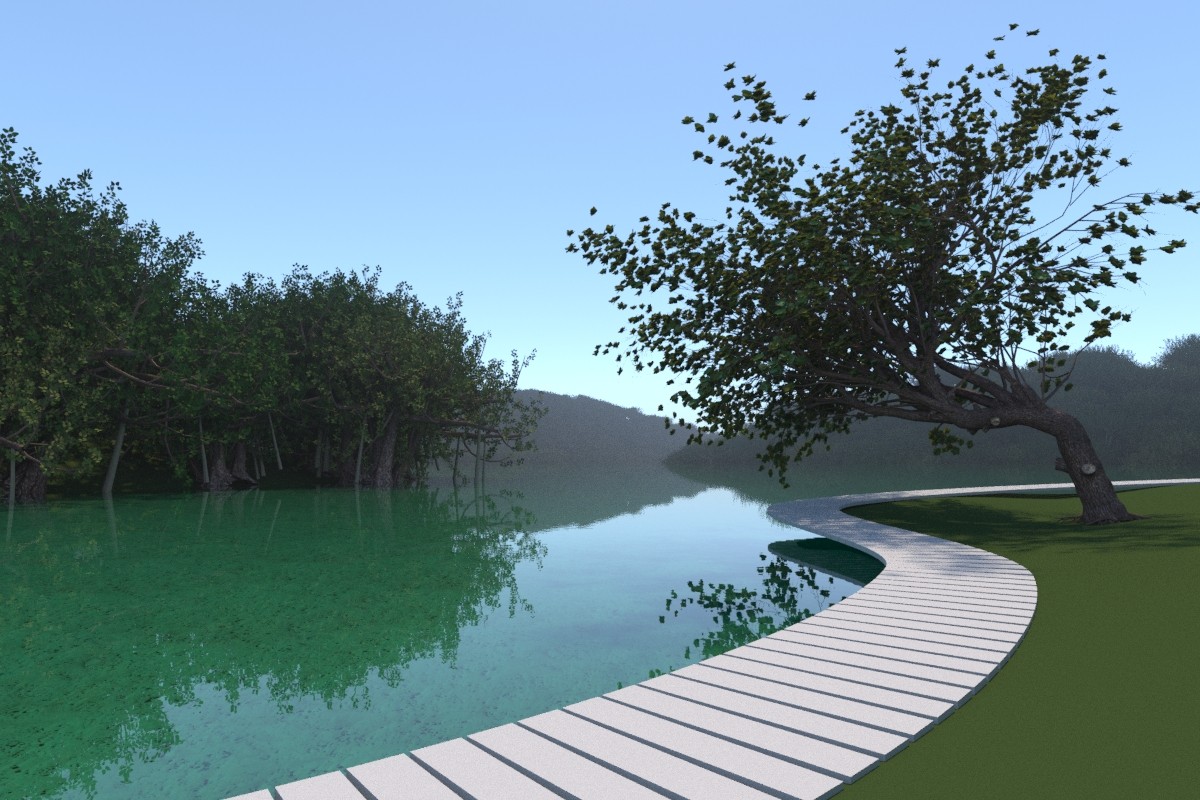
Also I wanted to try to make the Fog manually, so I placed some geometry over the lake, background trees and around the volcano and I used the VolumeFog material with the help of some displacement maps, I think the result is great and very fast at rendertime.
The final rendertime of the 2500px image was just 40 minutes in a Dual Xeon, so I was very glad with the optimization work I did.
In the postproduction process (After Effects + Photoshop) I only added some stains, birds and all the color grading stuff.
I hope you like it and if you have any question please ask :)
Thanks for reading.
Software and equipment used
SpeedTree, 3dsMax, Corona, AfterEffects, Photoshop, Dabarti Capture


Login to vote!